Hey girls, this is my first post on using Photoshop to enhance your beauty in photos. Each tutorial will be short, fun and easy to understand.As this is my first post about photoshop, let me introduce the software to you a lil bit aight?
Photoshop is like a plastic surgery software for us girls. We are addicted to it and we love it! Believe it or not ALL celebrities go through photoshop before reaching your favourite magazines.


*Give life to her eyes

*Wrinklesspots

Well… have I convinced you that photoshop is a neccesity yet?
 The latest Adobe Photoshop CS3 Extended.
You can buy it here or download it for free here or download the demo here
Well, its impossible for me to pummel all my photoshop skills into you over night but if you follow this series you can pull this off :

So what are you waiting for? Download Photoshop now!
One important note : we teach you the skills, it is up to you on how to use them.. you may inflate your breasts, make yourself thinner.. but at the end.. if you can handle the consequences..
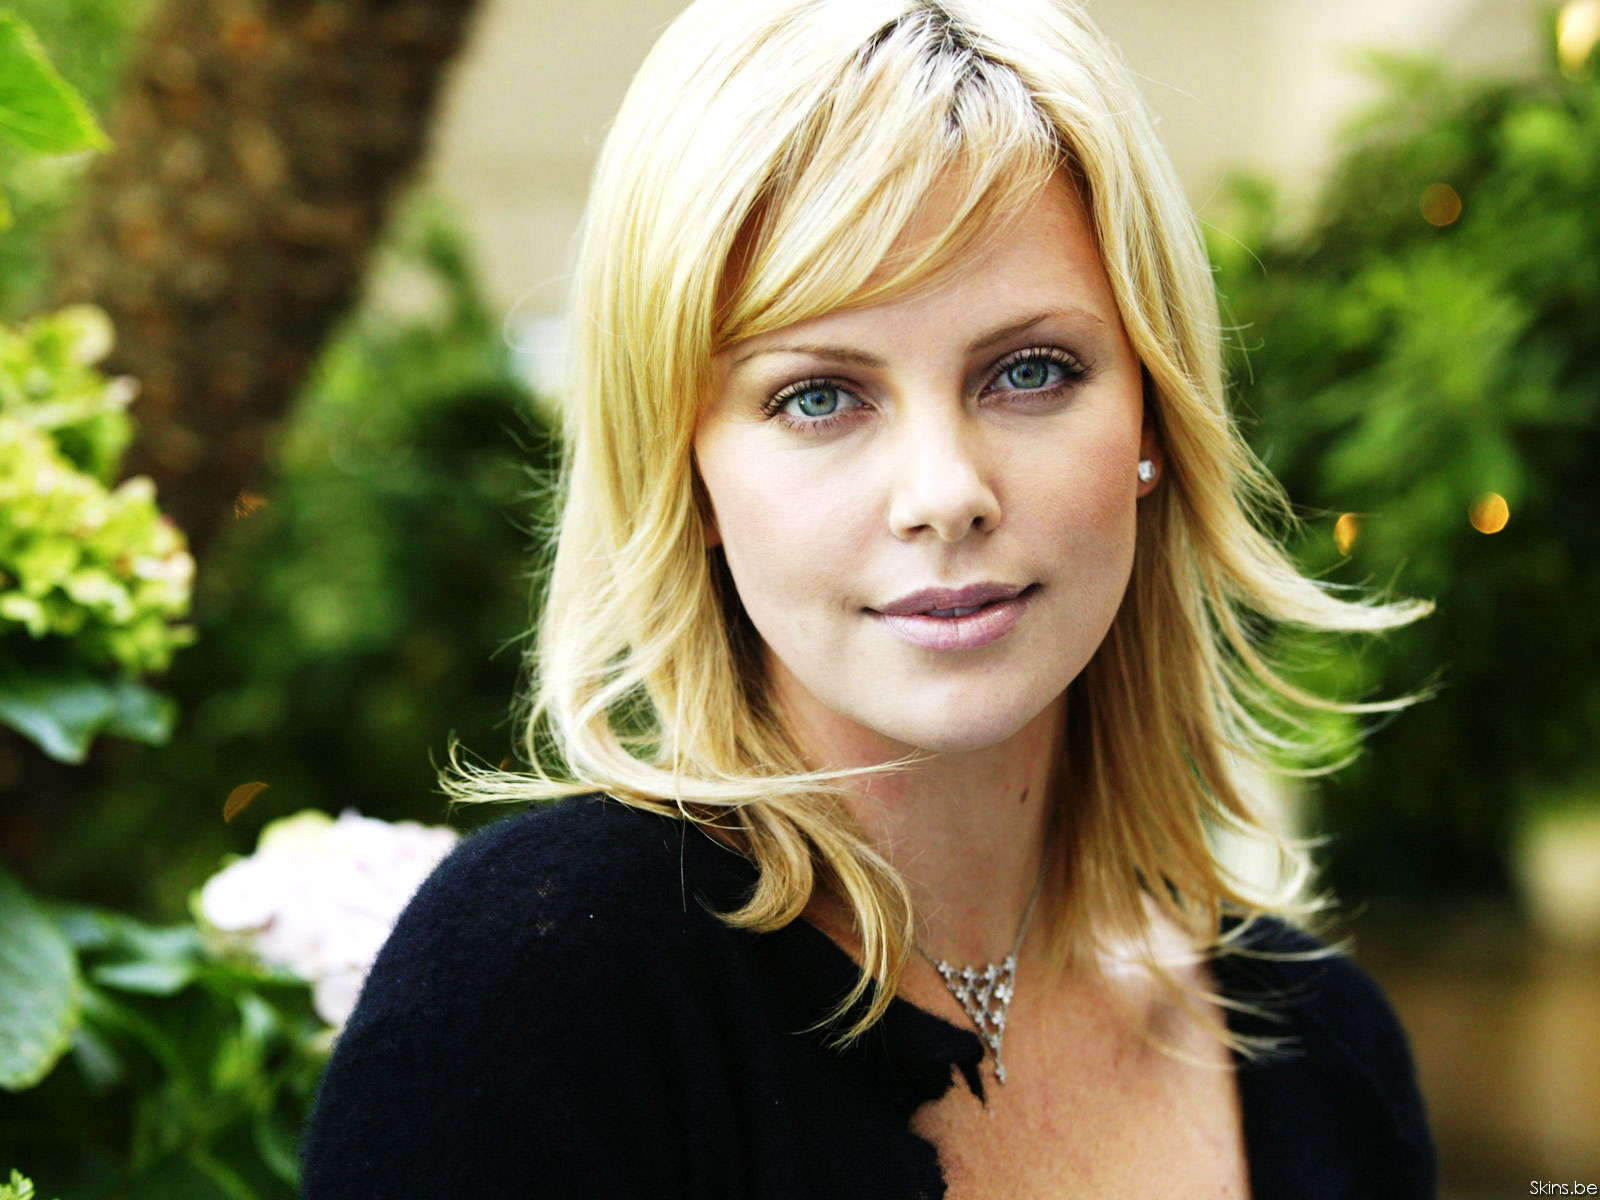
We will be using this photo :
 Its Charlize Theron.. click on the picture and Save the big picture that comes up!
This is a beautiful picture with alot of potential to be improved. We will use this photo for some of our tutorials so remember to save them!
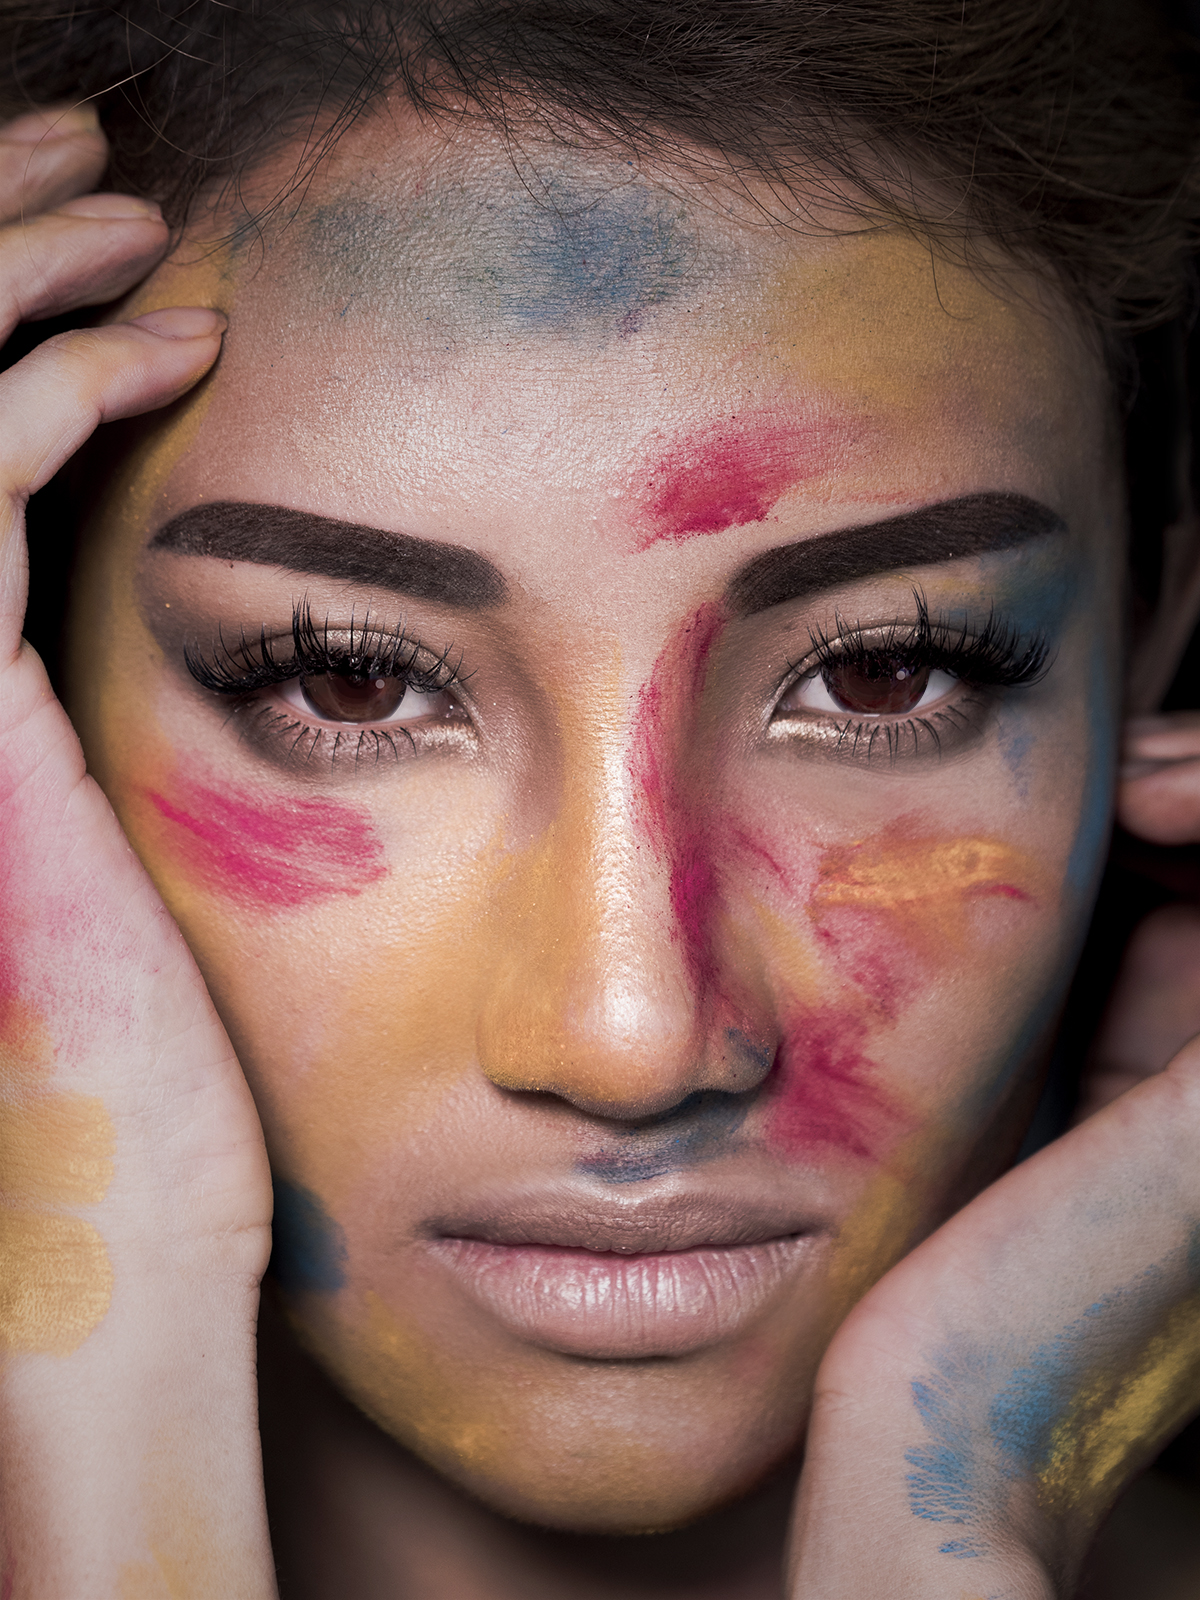
 This is the result of today’s tutorial.. we are going to create contrast between the colours and balance out the shadows and highlights of this image!
Tools : Levels Curves
We will only be using 2 tools in Photoshop today and this 2 tools should always be your first tool everytime you want to edit your photos.If the images are too small, you can click on them to enlarge them!

Don’t worry about all the mambo jambo now… they are not as complicated as it look… we are only using 2 tools out of the hundreds anyway..
 Go to File > Open… to open that photo of course.
 Choose the Charlize Theron photo from the pop up.. just like above…
 Your photoshop should look like this now.. with the charlize theron’s photo..
 Now is the time to use our first tool, Levels.
Go to Image > Adjustments > Levels
 Once you click it, this will appear on your screen..
Can you see 3 little arrows that I have circled?
One is in Black, Grey and White.
They are exactly what they are colored.
If you drag the black arrow to the RIGHT, ur image’s shadows becomes darker..drag it to the left and it becomes lighter.
If you drag the white arrow to the LEFT, your image’s highlights becomes brighter.. drag to the right and it becomes darker
The grey arrow works the same, only that it controls THE WHOLE IMAGE instead of just the shadows or the highlights.
Experiment with the tool. and see what it does to your photo.. Basically you are trying to find the perfect balance of highlights and shadows. In photography terms, it’s called shooting at the correct exposure.
 This is what I have used.. just a simple pull of the white arrow to the left.
Click Ok to accept the changes.
 Now, on to our second tool, which is more fun!..
Go to Image> Adjustments > Curves
 You will see this dialogue if you click the curves tool..
It has a diagonal line and some graphs at the back..
If you try draging the diagonal line to the Light area, you can see that your image becomes brighter…
and if you drag to the Dark area, your image becomes darker
*If you accidentally place too many dots, you can drag them all the way DOWN or UP to remove them
 Your photo will look like this when you drag it up..
Good for making yourself fairer!
but if you notice, the shadows are brighter too!
 Pulling it down gives the opposite result, you get darker.
 This is what we want. This makes our face fairer yet maintain the darkness of our shadows.
Your final output.
Now that was short and fun right?
Comments (3)
good tutorials…
This is great 🙂 When is the next post coming up?
My partner and I absolutely love your blog and find most of your post’s to be what precisely I’m looking for.
Do you offer guest writers to write content for you personally?
I wouldn’t mind writing a post or elaborating on a number of the subjects
you write related to here. Again, awesome blog!