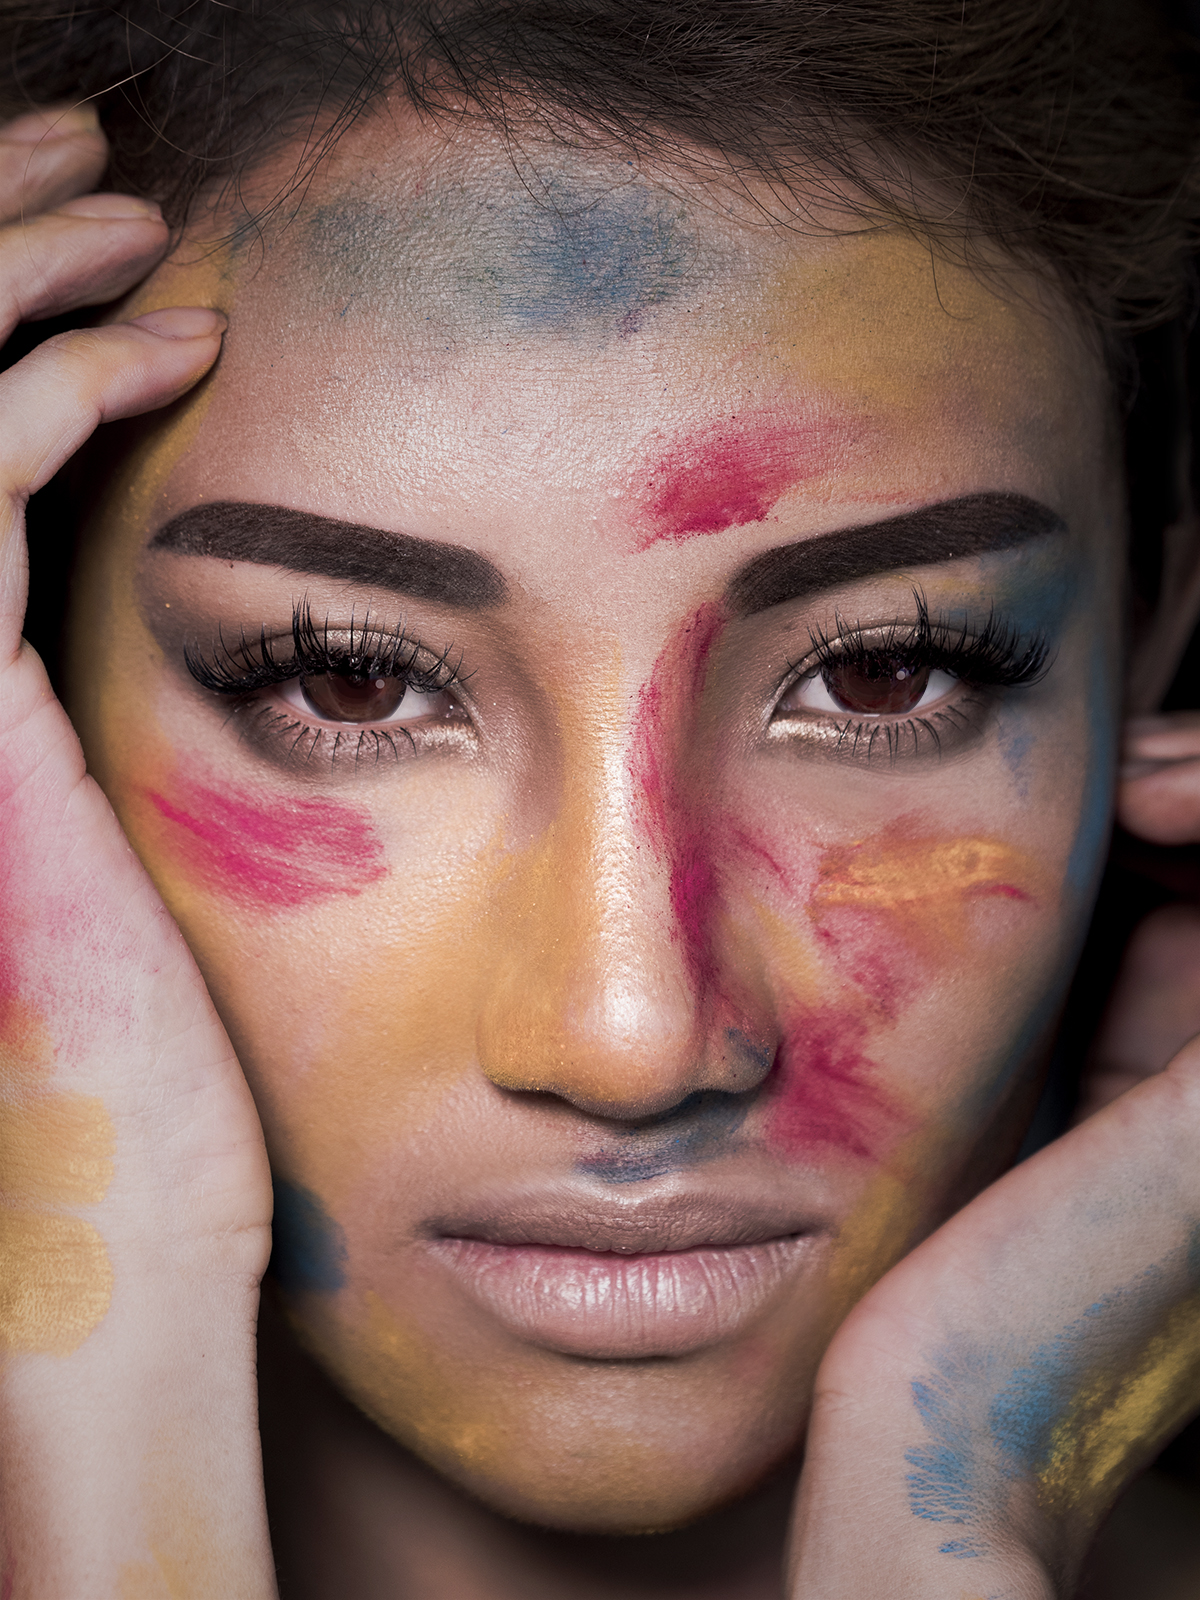
I found this makeup in deviantart.. its oh so pretty.. I wish I have macro lens , then I will be able to take photos like this too!!
I couldn’t help but convert this into regular everyday makeup!
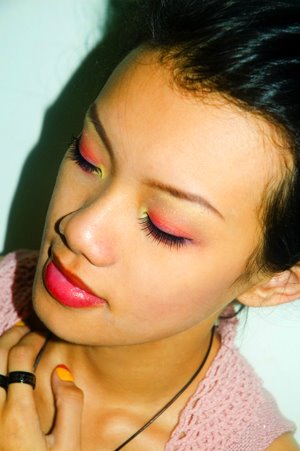
 To something like this!!
 Wet your brush and apply some shimmer all over your eyes!
 For your browbone, use a light yellow colour. I used shade 13 for this. Do not wet your brush for this application!
 Using the same yellow, wet your brush this time and apply at the inner corner of the eye!
Make sure that the yellow that comes out are really intense and pigmented by wetting your brush first!
 Use orange and apply AROUND your upper and lower crease, ignoring the crease itself. We are gonna fill the rest of the skin in with colour later.
I used shade 42 from the pigment pallete.
 Now use red..preferably orangey red.. like shade 53 from the pigment pallete, which I am using.
Fill in the crease area which you ignored earlier one. Leave some space as there will be one last colour for the next step. So you are actually working from the outside going INSIDE, instead of the normal conventional way of working from inside to out.
This is because it is easier to start with lighter colours and our lighter colours are surrounding our eyes and also, we do not need to clean our brush that often when apply from light colours to dark colours.
 Finally, take purple. I used shade 41 and fill in the rest of the areas.
 It should look something like this… outer ring =orange
middle ring= red
inner ring = purple.
 Line your eyes with black eyeliner!
 Tada!!
 A conventional and less complicated phoenix-like eyes!
Hope yall like it!